
First of all, have all your supplies ready , including your chosen mold and maybe an additional one for any excess. Have containers of water or your garden hose ready to add water if needed.
Line your mold with plastic and/or spray with the release. It’s great if your liner comes way up over the top of the mold form as you will see later.
Using your recipe, measure and pour your dry ingredients together into the bin. I use the flat black drywall bin mostly for medium to small projects. A large shallow pan is easiest to mix in, believe me.
Please Note!
I have used a double recipe, but be warned . It gets cumbersome to manipulate in this amount.
Don’t double it on your first try.Choose a medium size mold for your first project, such as a big salad bowl or kitty litter pan.
Another Note:
Don’t let any extra mixture go to waste. You can roll out a ball(s) and use it as garden decor for a planter.
Or have a small extra form ready to make another hypertufa pot.
Mix all the dry ingredients thoroughly. Then start with an amount of water such as 3/4 gallon (if you are using gallons as your part). Pour it into the middle and start stirring and folding, and when it seems too dry, go ahead add more water. Keep mixing and adding water until you get a thick oatmeal or meat loaf or fudge mixture.
Be sure to scrape underneath your mix to get everything . You don’t want it to be wet-sloppy, but not crumbly-dry either. Just fudge-like with just a drop or two coming out between your fingers if you squeeze it hard.
Molding the hypertufa planter
Place your mold within easy reach of the mixing bin. Remember, I do “innies” so you will be building inside the mold. Put a big handful of the wet mixture into the bottom of the mold (on top of the plastic liner) and add another handful if needed. You want a strong thick bottom. It should be at least an inch thick. Press firmly against the bottom getting out all air pockets and compressing the wet mix.
After the bottom seems full and compressed, start putting big handfuls against the sides and doing the same. Press and firm it up the sides as you go, pulling on the plastic firmly. If you are using a squared-edge container, be sure to add extra to corners. You want a strong corner. Use enough of the wet mixture to make nice thick sides.
Side Note!
You may notice at this stage some moisture forming in the bottom of your container. Don’t worry. Mine sometimes has this. It will be absorbed as it dries. Now I don’t mean an inch deep of seepage, but I am referring to a collection of watery dampness in the bottom.
Hint on Technique
My technique is one hand outside and one inside, pressing and pushing to be sure I am getting a solid wall. I fill mine to the top to make a deep container. Just press and push down til you get a nice firm wall.
Check for level sides on all walls, you don’t want it all lopsided, but if it should turn out that way, it just looks rustic and “hand-hewn,” so no harm done.After all this pressing & patting is done, some people put a dowel rod or plastic rod of some sort stuck into/through the bottom of the container as a drainage hole.
I don’t because, for me, it is just as easy to drill a 1/2″ hole after you unmold it.
So you are finished at this point with making the hypertufa planter. Now for the Cure.
So this is where the excess plastic liner comes into play. Just gather that together and tie off the top, but still sitting inside the form. An alternative is to just tuck in the excess plastic and put the whole thing inside a plastic bag. Then your mold becomes an object to enable you to carry the “package” to set it somewhere in shade such as under a bush outside, or in the garage on a shelf, etc. Handle gently since you don’t want to squash the new planter.
Clean that mess up, now! The stuff will dry like cement ( imagine that ), so be sure to wash tables, mixing bin, tools, etc. Even the floor where, if you’re like me, you’ve spilled and splattered. Here is where a garden hose comes in handy. And also the fact that you did this outside! Oh yeah! See what I mean? Clean yourself up too. Disposable gloves can be thrown away, but you may have some mix on your arms or face. You are wearing old jeans and shirt right? Remember, don’t rinse this mix down your drains! Rinse outside.
Un-molding your new hypertufa pot
After 24-48 hours, go check your planter. Unwrap it enough to put your hand in and feel it. It should be very hard with some dampness still noticeable. It probably will be a little warm. Chemical reaction, no problem. If you check it at 24 hrs and it seems ready, then go ahead to un-mold.Using the plastic liner bag, just give the plastic a tug and gently pull it out of the mold. You can then pull the plastic away to reveal the planter.
If some plastic sticks in crevices, try pulling it out gently. If is seems stuck too deeply, just rewrap and let it cure another 24 hrs. If it is still stuck at the point, then just pull it off firmly. The plastic shreds can be singed off with a torch CAREFULLY.
Texturizing
This will be where you give your planter its aged look. Wear gloves to protect your hands and rub the surface of the planter with the wire brush. Strokes can go up and down, or sideways. If you are artistic, you may be able to make it look as if it is tree bark? You can “gouge” little lines in the tufa, basically giving it a one-of-a-kind look. This will mimic the “true” old ones which had chisel marks since they were made from real stone. If there are edges you want to trim, you can file them, or round them off. I like the top rim to have a rounded edge, so I may file off any jagged edge of the little rim that may occur.
Handle it gently but firmly and get a look you want. If you want, you can drill a hole now with a masonry bit in your drill, or it can be done after it cures.
Curing
When you are satisfied with the look, place it back into a plastic bag, tie it or seal it with clamp or band, and again place it in the shade or shelf. Leave it for a week or two.After that, bring it out and wash/spray it off with the garden hose a few times a day for about 3-7 days. It should be de-limed by then. If you want to be sure, spray some diluted vinegar on it and rinse again, repeating for a few days.
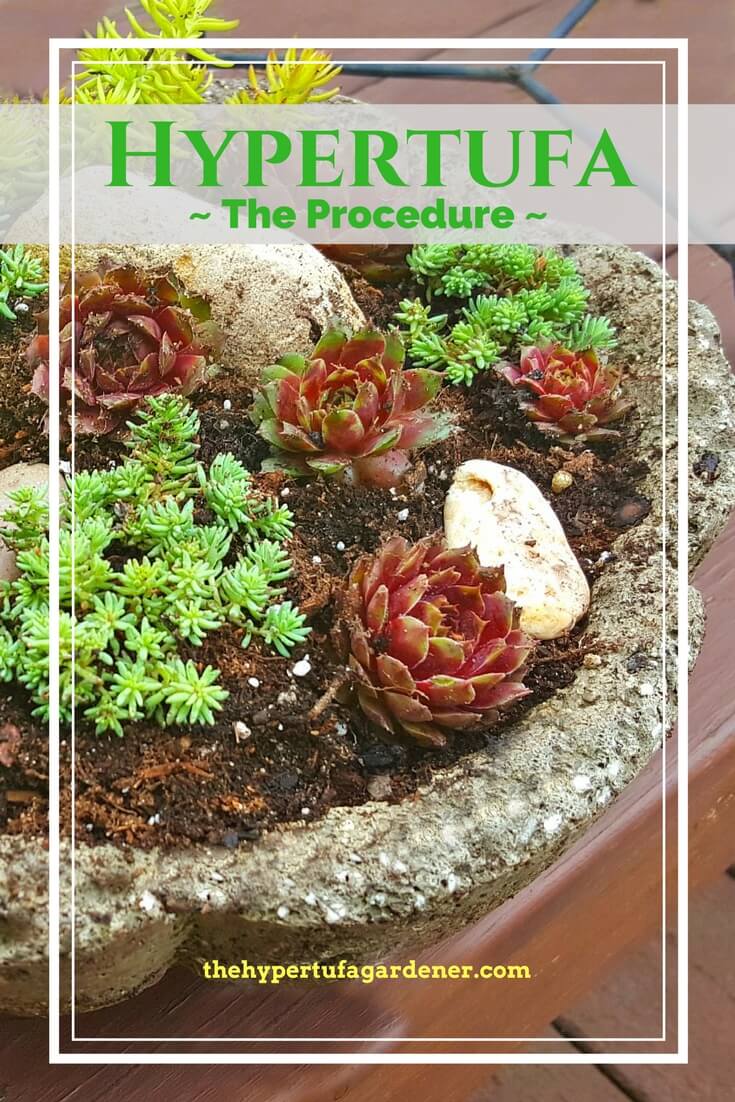
Then it is ready to plant!
I hope you will try it. These planters can be enjoyed for many years.