Trying a Rain Barrel? Will I Need A Crane?
I guess my husband is getting fed up with these weird ideas I want to try. And I guess this one is a real (back) killer!
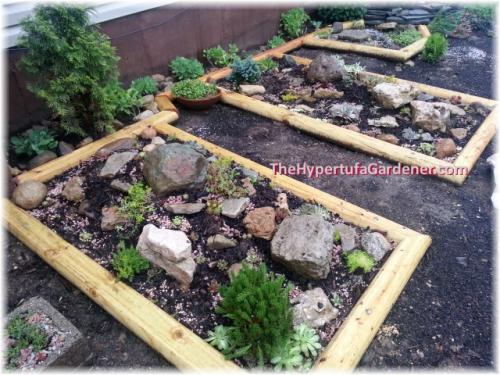
My idea is to make a rain barrel! I need a rain barrel for the corner of the house nearest my garden shed. This is the area where I keep my hypertufa troughs in some gravel beds . And this is where I have beds for a succulent nursery. (Hardy zone 5)
A gutter spout releases the rain near there, and it accumulates and then runs on through the garden. But if we have a lot of rain, such as during the springtime, water constantly running through there keeps my plants a little too wet.
Since this is a bed where I grow new cuttings , I don’t want it too moist. Or maybe I just obsess to much.

I want to put a rain barrel at the downspout which is in the farthest back corner in this picture. I would attach a drain hose at the bottom of the rain barrel, but my hose would be one of those soaker-hose types. Buried through this area would water the rest of the plants and shrubs , but direct it away from my succulent beds.
I have other plants on the far side, to the right of this picture, which need watering more often. So this rain could offer a slow soaker-hose distribution. More of a rain garden effect as I described in another post.
Ready for this? I want to try hypertufa for this rain barrel! (Yeah, she’s snapped her cap.) This hypertufa is good for my zone 5. It survives the freeze and thaw cycle. It is porous, which is not a problem.
I DO want it to provide water for the garden plants, but to stay dry during the other times, since we don’t want to provide standing water for mosquitoes.
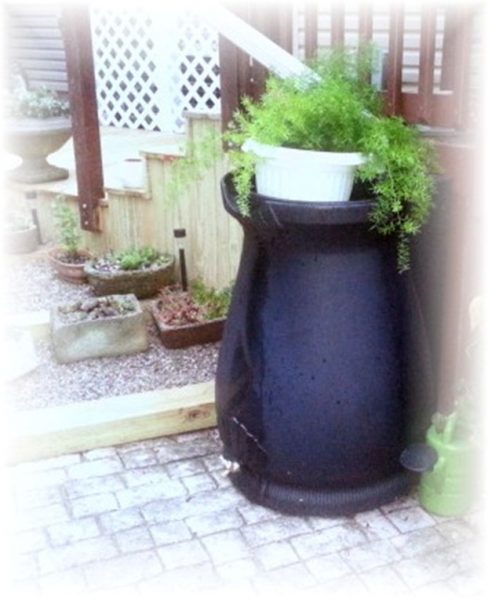
Regular rain barrels are expensive. This black one I purchased was about $135, and I really like it. But I do have to dismantle all the hookups and store it inside my garden shed in the winter season. It cannot survive the freeze/thaw cycle. It would crack. So let’s tufa one
OK, here’s the plan. What should I go with?
- I will use a trash can as a form. I can pack the tufa mixture inside a well-oiled can, making sure I press at least a 4 inch bottom. My recipe for this will be 1part-1part-1part of the Portland-Peat-Perlite mixture. I think this will be better for my needs here.
- No bottom holes since it is not a planter. But I will drill a hole in the side just above 4 inch bottom. This will be to install a spigot.
- I will make a lid for this by cutting styrofoam until I get the correct fit , so that I have a cover to keep mosquitoes out. In this styrofoam piece, I will cut a “rectangle” hole that fits my downspout outlet.
- After measuring in place etc, I will coat this styrofoam with the strong hypertufa mixture or even mortar mix and then it will be a solid but removable form with an opening to accommodate the downspout in the top.
- I will use a SonoTube cut to the right height I need, I will need to investigate if I can get 18″ diameter? or more? This attempt will be using the SonoTube as a tower form to create a Draped Hypertufa -something really artistic , double coating with my mixture, until I get a thickness which seems right for a rain barrel. I can make a lid in the same way as explained above.
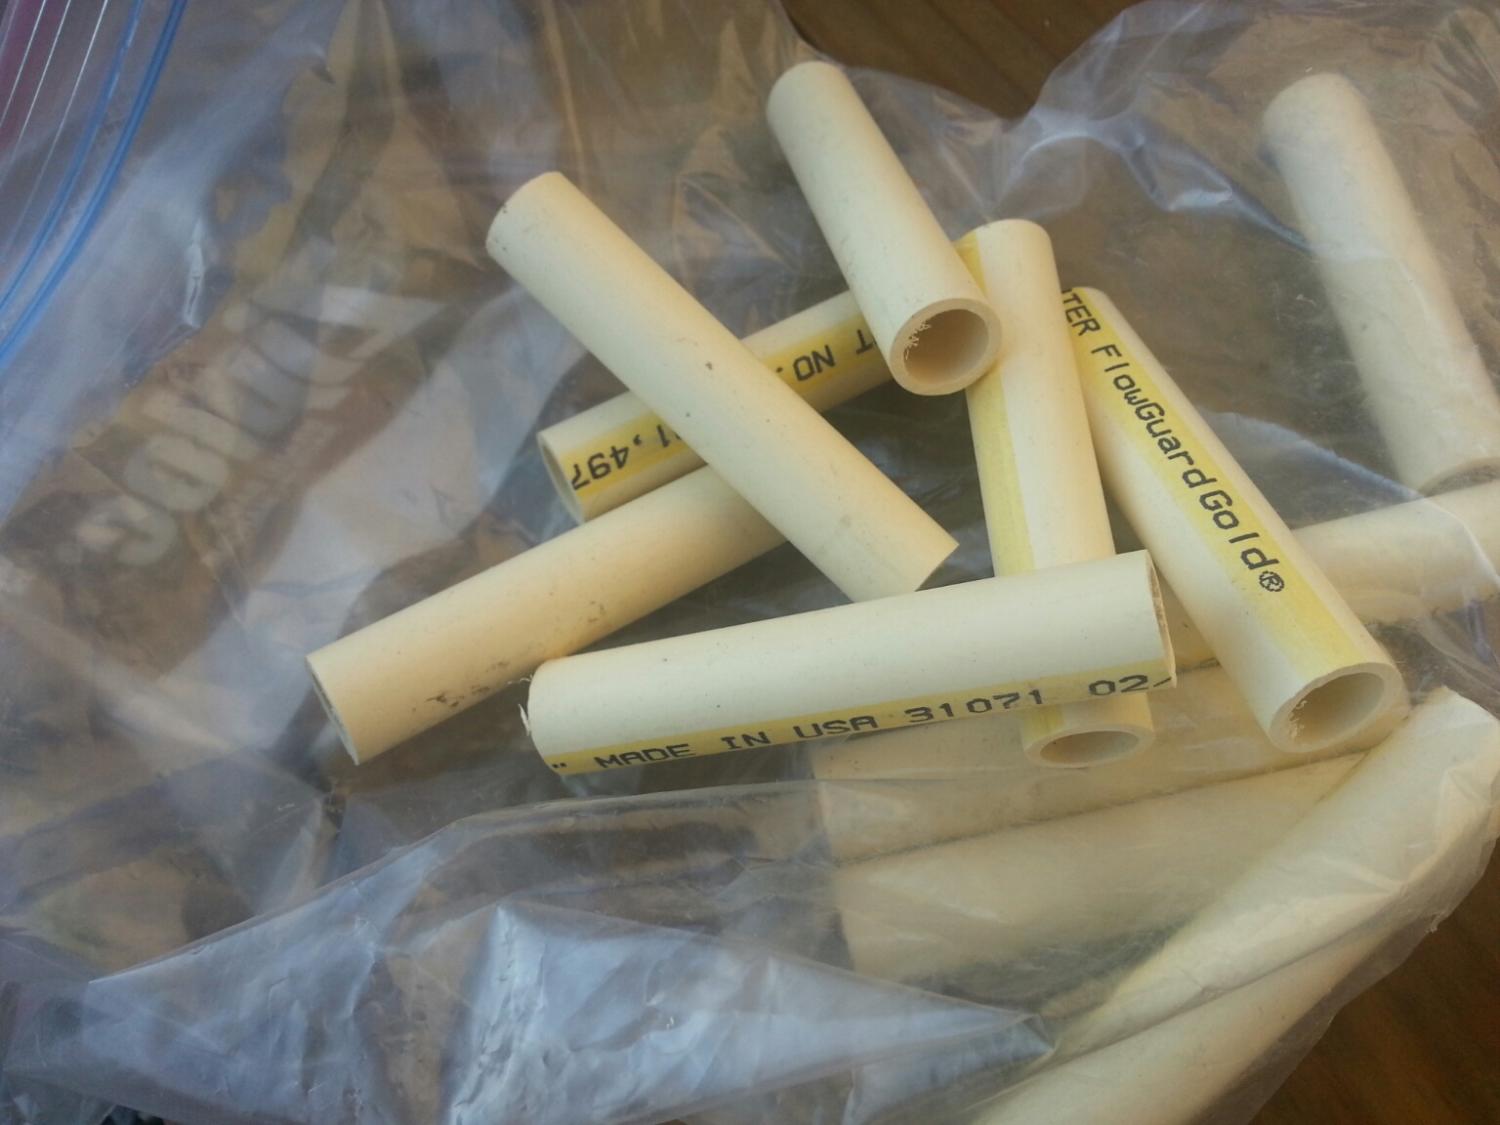
- How about using a rolled tower of chicken wire? I can stuff the hypertufa mixture, repeating until I get the thickness I want in the walls. I have some small pvc tubes that I use only occasionally to put in the wet hypertufa as a “drain hole spot-holder.” I can use one of these to place in the wall where I want the spigot to be.

I can try for a tree-trunk look on my texture. And perhaps add some latex paint in greens or browns.
Let me know what you think. Have you tried anything like this? What are my problems that I am not seeing? I am itching to get started since it is finally a beautiful day here in Ohio. Help me ?
Update: It did not work for me. See the follow up post.


Did you do this?
It just didn’t turn out and I have never tried again. Here is the follow-up post. I guess I should link them, right?
Oh my! I can’t wait to see the final product! You will have to keep us updated on how it works. I would use the chicken wire, it sounds easier.
And I had almost made up my mind to do the trash can! I need to decide!
Building the sides up might be hard to do, but I know with your determination , you will succeed!
It’s called stubborn! If I want it, I will make it somehow!