Staining Hypertufa – Paint? Colorant? Chemicals? So Many Ways
Before the year closes in on me and as I can find some extra time to experiment, I needed to get busy coloring or staining hypertufa with some chemicals. I have been so looking forward to this. I wanted to see what kind of color I could get with the chemicals, as opposed to the color I’d get with my ordinary methods.
In the past, I have colored my hypertufa with liquid cement color. This coloring is added to the mixture during the making of your project and that color is evident throughout the piece even if it chips or scratches. I have also used different types of paint on the surface of a completed project. ( My favorite paint is one for staining wood decks. Go figure,) But I have always wanted to try the chemical stain method.
I am including links to some of the products mentioned. These are affiliate links and I may make a bit of coin for my website expenses if you make a purchase via my links. Thanks for your support.
Staining Hypertufa With Chemicals/Fertilizers
The chemical that I read about for staining concrete I felt could be applied to hypertufa. Basically hypertufa is a concrete but with different aggregates than the concrete for the garage floor, for instance. And it should work almost in the same way, so I was game to try.
When I went looking for the products, I really couldn’t tell what was what. Was this fertilizer that says Ironite 4% solution what they mean for me to use? If it was liquid, do I mix it with water or use full strength? I was supposed to find Copperas in the hardware store or garden department, but I just seemed to go in circles. So I finally decided to order the chemicals from Amazon. (You can see my unboxing in the video.)
Caution: These compounds can cause irritation to your eyes and skin. Wear goggles and protective gloves when handling. Avoid inhalation of vapors while using. Use the mix in a well-ventilated area. (Use aprons or clothing that you don’t mind staining!)
Staining Hypertufa with Miracle Gro?
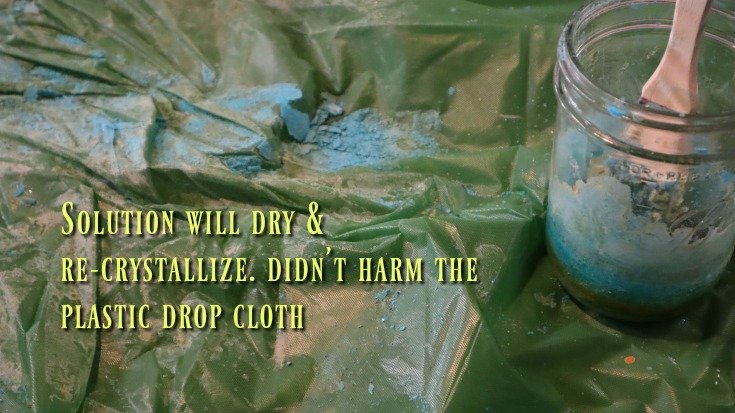
I did have some old Miracle Gro Plant Food which is based on one of the same chemicals that I ordered. It has the copper sulfate and will produce blues and greenish tints. What I had ordered was Copper Sulfate which is a salt that is soluble in water. When I first used it, it seemed to crystallize into the cracks and crevices, but I later learned to mix it in hot water for a better result.
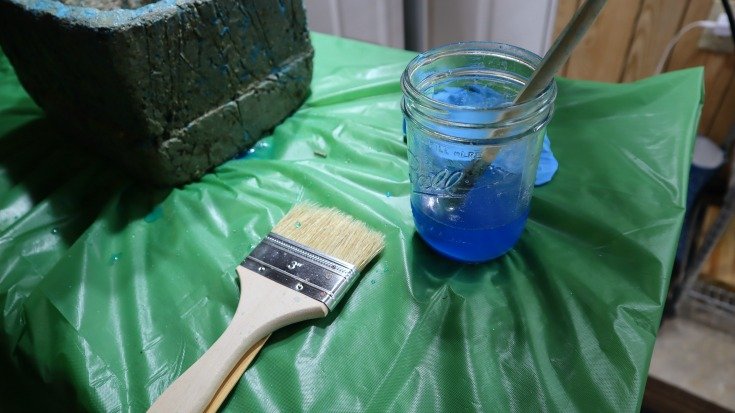
My experiment also included re-coating for a more saturated color. Applying a second coat after drying seemed to add more color. Using acid-based mixture on a cement-based project causes the acid to “open” the surface and seep inside finding lime deposits inside. The reaction that colors the concrete can continue for a period of time and deepen the color over a few weeks.
Since this binding occurs over the whole project, there will not be a uniform color over the surface. The stain reacts differently in different areas based on where it finds deposits that it can adhere to and color.
When you have the color you want and have dried the surface, you can rinse and remove any residue left. I am applying this to the outer surface and just barely into the top rim so I don’t feel it would have any detrimental effect on the plants inside.
But I will only know for sure when I plant them up and wait a few months.
How to Stain Hypertufa With Chemicals
These are the items you will need for the project.
- Protective gloves, goggles, apron, face mask
- Glass jar or bowl for mixing chemicals (do not use metal)
- Wood stir sticks
- Paint brushes or sponges (or use garden sprayer)
- Hot water
- Ferrous sulfate fertilizer for orange/brown
- Copper sulfate for blue/green
- Drop cloths
So here is what I did and you can follow along in the video. It was not as messy as I thought it would be and I could not detect any fumes or odors from the chemicals or fertilizers. But just be cautious anyway.
My Procedure
First of all, be sure your hypertufa pot or piece is clean and free of surface grit etc. My pot was a new pot which has already been leached but has never been planted.
Lay out your drop cloth if you need to protect your work surface. Staining can occur. Wear old clothes in case of drips or spills on yourself also. Goggles and mask at your discretion. I wore an apron and gloves.
I used a pint jar for mixing and stirred with a wooden craft stick. Use a container appropriate to the amount you will need for your project.
Mix about a 1/4 cup of copper sulfate into 1 cup of very warm water. (I started with cold and found it mixes better with hotter water.)
Stir well until dissolved. Add more chemical if you like until it won’t mix any more.
With gloves on, dip brush or sponge into mix and apply to hypertufa. It is drippy and runny so just apply to all surfaces and let run. If you have available, use a garden spray or disposable spray bottle and mist it on the surface.
Allow to dry about 30 minutes and apply up to two more times to get the color you want.
After drying thoroughly, rinse the surface with clean water. It is finished at this point, but you may choose to apply a concrete sealer at this time. I don’t seal my hypertufa.
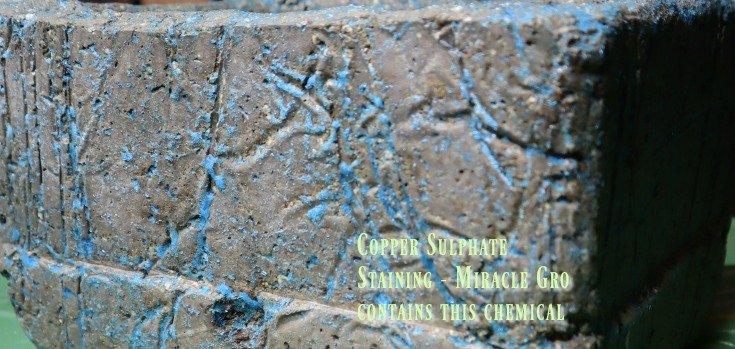
I also colored this hypertufa pot with the ferrous sulfate and it gave the piece an orange/brown look. Since both these pieces had a different texture, it is hard to make a choice, but at this point I think I prefer the orange/brown one. What do you think?
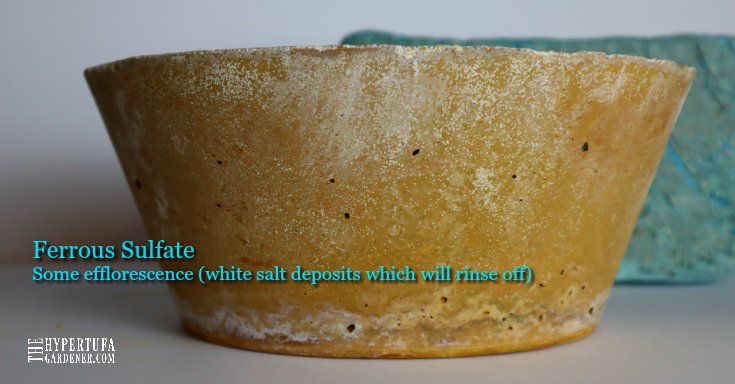


The ferrous sulfate seems best to me, although they both look great.