Sealing Hypertufa For Moisture-Loving Plants
This summer season, I am interested in planting some plants in my hypertufa that are not necessarily drought loving plants. I really want to expand the diversity of plants that I have. Maybe it’s because I love watering my plants. It is soothing to go out in early morning or if the schedule of my day gets disrupted, even early evening is wonderful.
I can use a garden hose on a gentle mist setting or even use my water and feed hand-held tank sprayer, but either way it’s so mentally soothing to me. Now, my regular succulents and sedum would not take to so much watering, but other plants may need to have a little more moisture retained in the soil. So I am trying an experiment this summer.
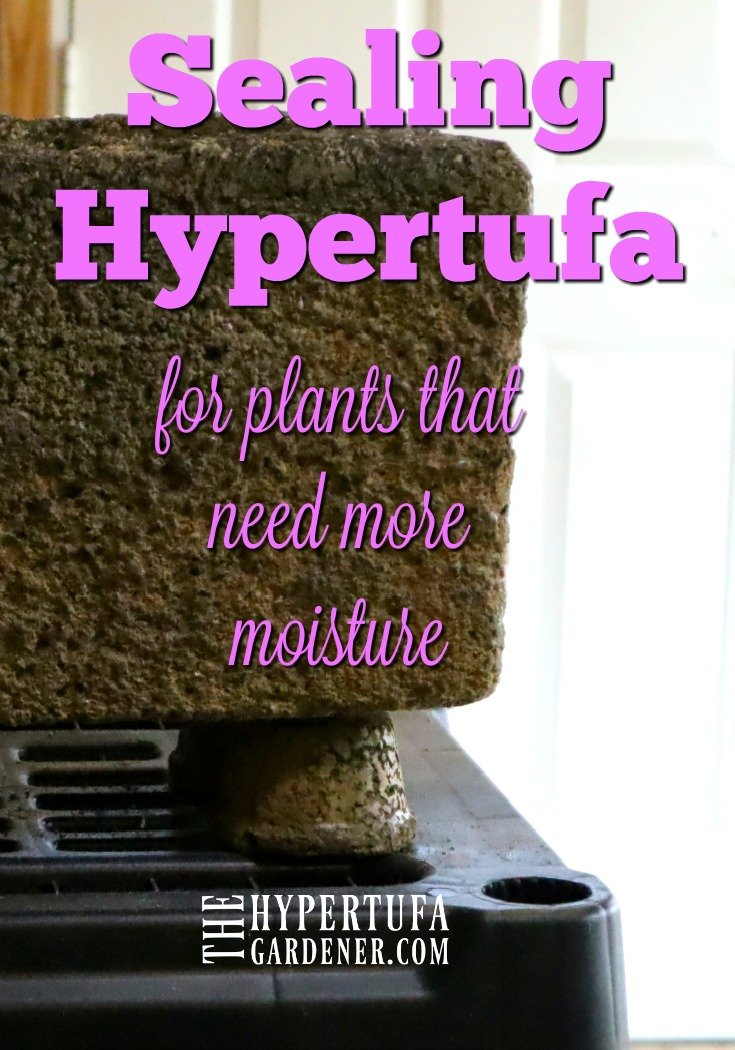
Sealing hypertufa is the way I am going to go about it. I feel that a good hypertufa pot is breathable with its texture and structure basically constructed to have a very porous container that will allow an exchange of air through the walls of the planter, perfect for sedum and sempervivim and all plants that really don’t react well to wet feet.
My Reasons for Sealing Hypertufa
But some plants want to keep moist soil at least for a period of time and I am interested in trying those plants too. But sometimes, the hypertufa dries out too quickly for them and it makes the plant not do too well.
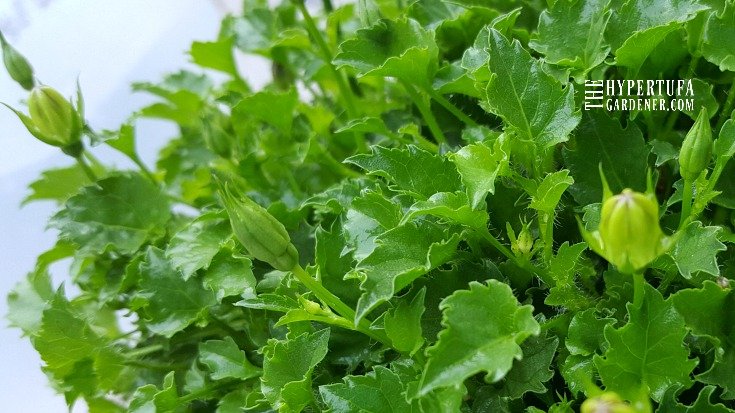
I have recently purchased (see the Plant Haul video here) some ‘Rapido Blue’ Bellflower (Campanula carpatica) for my hypertufa bowls and troughs and I really want this plant to thrive and do well. It likes well-draining soil but likes moisture too, so I am going to get to work sealing my hypertufa trough that I plan to plant it in.
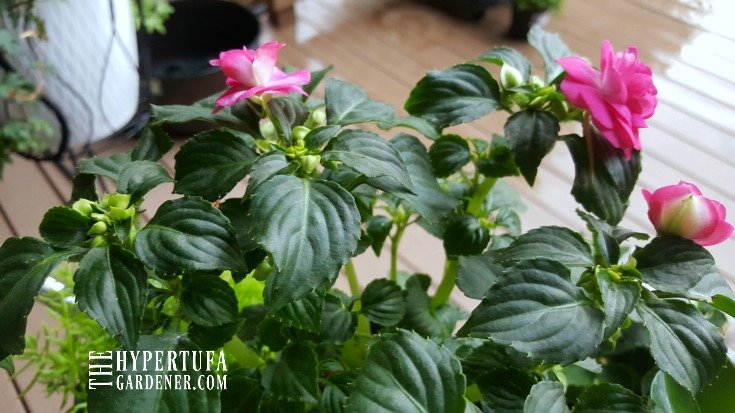
Now won’t that be a whole new look! And I can water them as much as they need. We all know how impatiens do at the slightest hint of low moisture, so I will consider these my test plants. If I can get them to do well, then these sealed hypertufa troughs and bowls can be planted up with such a variety of plants.
Now here is how I am sealing my hypertufa.
My Method of Sealing Hypertufa
It is not exactly Rocket Science. I have had so many people over on The Hypertufa Gardener Facebook Group discuss methods of sealing when they make birdbaths, water features, etc that I am just using a few of the things that have been mentioned over time. I am not sure which will work best or if both methods will be about the same, so this summer will be my test case
And the winter will be my “Does it last in the ice and snow?”
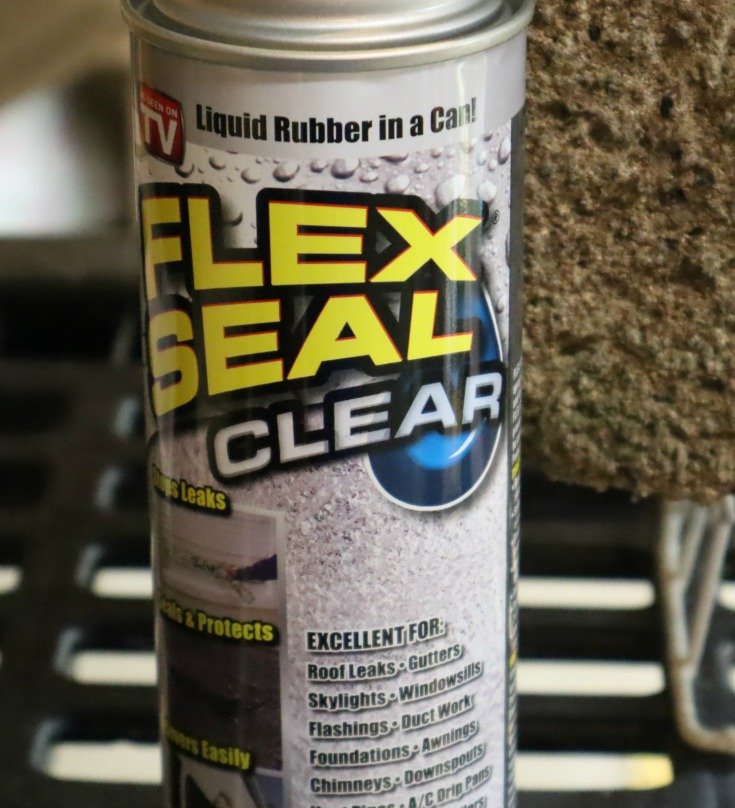
I have used Flex Seal #affilatelink and in this case have used clear. I am going for a light sealing in my case since I don’t intend for it to hold water, just block some of the moisture from leaving so quickly so that the plant can have a better chance if it needs a little more moisture. Many of my flowering plants are planted in resin planters or even ceramic that has to be taken inside in winter. But I just love the thought of “regular” plants in hypertufa.
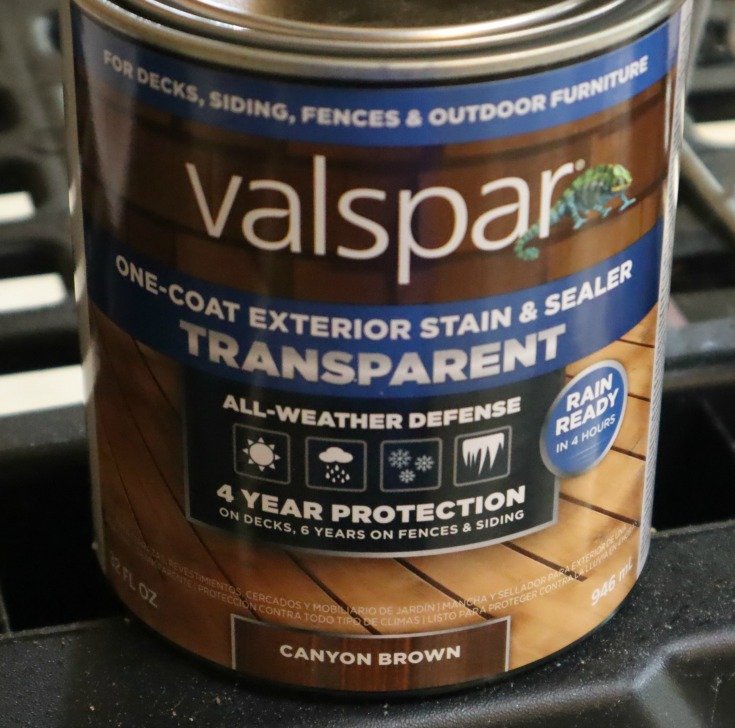
I am also using a Valspar Exterior Stain & Sealer in the transparent range. This is really made for wood but I love the look of it on my hypertufa and even on a concrete slab. Personally I don’t like the “full coverage” look as much as I like a “veil of color” over my rustic looking hypertufa pots and planters. But everyone’s taste is different. I bought a water-based stain just for the ease of clean-up and thought it might be kinder for the plants too.
These items can be purchased at your local Big Box stores, even Walmart carries these type items.
Using a tank sprayer that I got at a garage sale for $1, I will pour a small amount into the sprayer and then just use the nozzle to spray the sides of my planter (after brushing it off so no particles or soil stick to its sides) with a light to medium coating. Again, I am not going for water-tight like you may want to try for a birdbath or cascading leaf fountain etc. I just want a coating on the outside to seal up some of the porosity of for hypertufa planter.
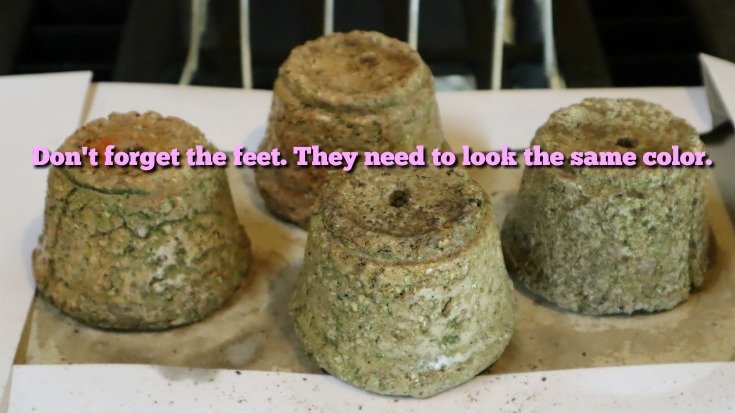
Don’t forget your little Pot Feet too! Just in case there is a bit of color difference with the hypertufa sealed, you want them to still look the same. In my case, my little pot feet are separate.
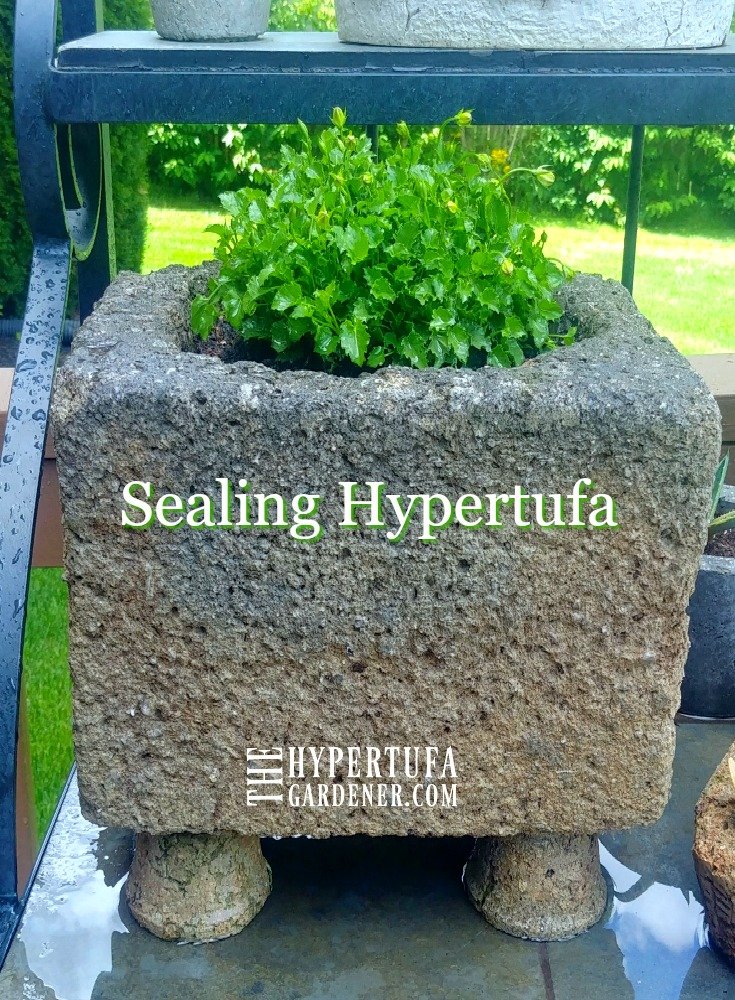
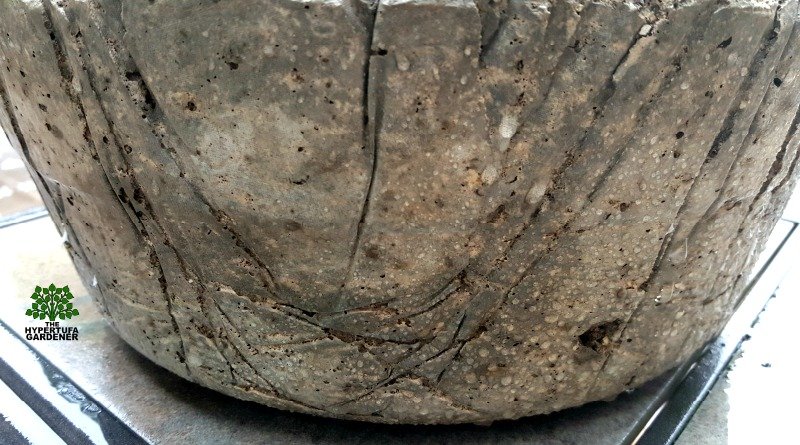
Here is my result after drying. It was dry to the touch in about 2 hours, but I let it set for 24 hours and then took it outside and planted it up. Mine is an older pot ( probably 8 years old or more), and I can see small areas that have chipped off and deteriorated over the years, but I think it looks awesome. What do you think?
Hopefully , this is enough instruction for you to seal some yourself if you’d like to do that. I have not sealed any previous to this so I am looking forward to seeing how the hypertufa and the different plants will do in them. I need to do a post on it later as a follow up, right? Be sure and PIN and watch the video and let me know if you have any questions. Thanks for reading…and watching.


I have made a few hypertufa pots and want to make a birdbath.
Do you recommend I seal the inside and outside?
I do plan to keep it heated in the winter with a birdbath heater.
I have never made a birdbath, but that sounds like what all those over on the Facebook group say they do. Many have created them and they are beautiful. Good luck.
I have done this and it works but not sealing on the outside as the humidity will remain in the pot and stay there, not good:) I had sealed on the inside with some clear silicone dissolved in mineral spirits made very liquid and I can apply one coat to achieve not total waterproofing or a few for a total waterproofing. I keep my hyper tufa and concrete pots inside or outside like any other pots.
I’m considering using hypertufa to make raised beds. They’ll line my driveway and ramp trellis. Overhead vines for food and shade. Access from my walker. Would drip irrigation or soaked hose be better. We have hot humid summers in eastern NC.
Soil mixtures will be peat and compost and sand.
Have you done this? How did it work? I have just started considering this possibility…