
My New Giant Hypertufa – When Things Go Wrong – Keep Going!
I have missed my giant hypertufa so much. Calling it the T Rex Hypertufa was probably quite a stretch, but it was a really big one compared to the ones I usually make. But since I had to leave it behind when we moved, the longing for a really big hypertufa is still there. So I have finally made one this summer.
First of all, it will never replace that other one. When I compare these two, I think I like that old style better. But we always need to try something new, and now I have tried this shape. Is it more of a bathtub shape? Not really sure yet what I see, but I am hoping that it grows on me.
Here is the mold I used.

This mold is a 40 gallon feeding/watering trough (I think) and I purchased it just to make a giant hypertufa. It is made of some kind of rubber-ish material and it is very heavy. I don’t know how I thought I could load it with 94 pounds of cement plus all the other ingredients and water and still be able to move it around like I do my small bowls. But sometimes our ideas outreach our abilities.

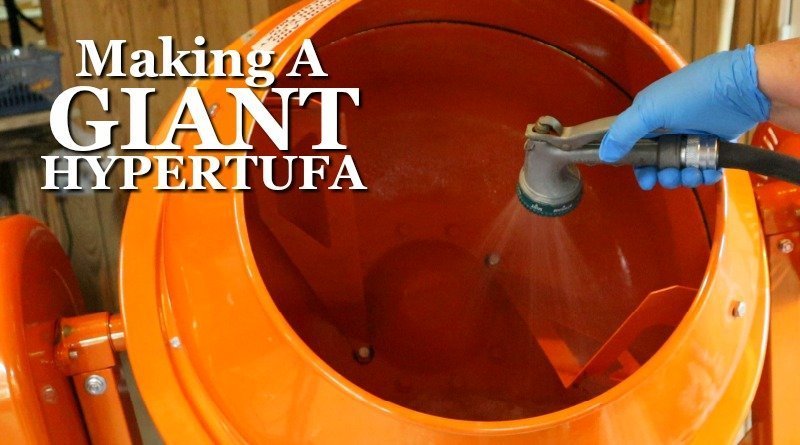
Of course, my family helped me make this one. No way could I have done it on my own. We all mixed and formed it together and I did use my cement mixer because we were making such a large amount. During this same series of daily sessions, I made a lot of other hypertufa projects too and there is a separate video about those.
I planned this giant hypertufa to be in the front garden bed but I don’t think I really thought it through in regards to getting it out front. Once it was finished, it must have weighed about 100 pounds and I knew from my experience with the other one that was Left Behind at my old house, that once this one was placed, it could never be moved. So I had to know where I wanted it for sure.

We made it on a platform-type wagon, one of those large garden wagons with drop-down sides. It has big mushy rubber tires on it that squished down and made the wagon hard to roll when the giant hypertufa was still wet and curing. I think everything that could have gone wrong DID go wrong in the making of this project.

When we were beginning to build up the sides of the hypertufa, unfortunately a little too much water was put into the mix. Of course, I panicked when I realized we had no dry mix to put in, and I had run out of cement with no time to run to buy some before our mix would be useless. So we just forged on with our project, fighting to get the mix to climb the sides. It kept slumping but I had no middle form to use as a slump guard and not enough sand to pour inside a plastic liner to keep it from slumping.
We were in trouble.

However we just moved on, full speed ahead, and worked it as best we could. I was checking around for items to place inside to keep it from slumping and we settled on some boards and containers that I could brace. (The inside wouldn’t show once soil and plants were inside.) So we ended up with a strange compilation which looked like a pile of trash loaded on a wagon. I tried not to be too disappointed before we knew exactly how it would turn out.
You can see what I mean in the video. But in the end, it turned out pretty well.
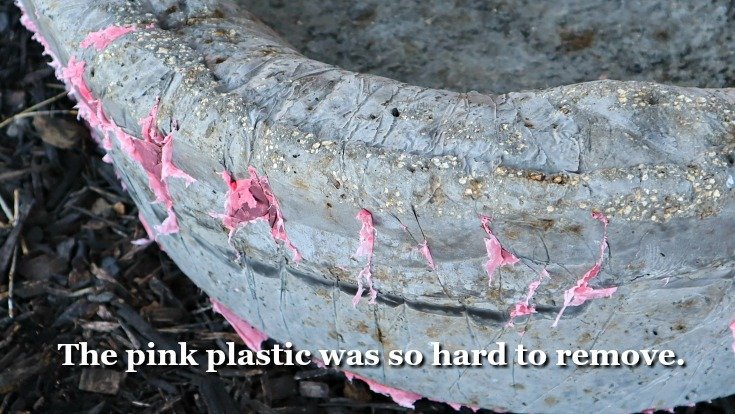
I should NOT have lined the mold with such a flimsy sheet of plastic. Based on how heavy it was going to be, those wrinkles that form on the side that I like in a smaller bowl, they just held firmly to the plastic there and were very hard to remove. If it would have been a stronger plastic, I think I could have pulled it free more easily. That flimsy stuff just tore and made little wispy pieces all over the outside which had to be carefully singed off after the curing was complete. What a pain!
But my Giant Hypertufa is now finished and I have placed it in the front garden. Well, actually my son pulled it on the wagon with me and my grandson pushing from the back. Oh, and did I mention we had made it in the basement garden shop, so it had cured/leached on the back deck? My poor son had to dead lift that Monster off the deck.
I don’t plan things very well, do I?
COMING SOON: Planting and completing the Giant Hypertufa
I made a T-Rex also. My grandson was the person who had to move it for me. He just looked at me and said , “grandma next time tell me before you do something this big again ok?” So I agreed to include him in the plans for the next one. He was very patient with me…lol.
Now that’s a sweet grandson. Hope you enjoy your big one also. I really like a big one for creating a mini-garden of sorts. But these super large are really getting beyond me. My son and son-in-law are the ones who suffer most. LOL