
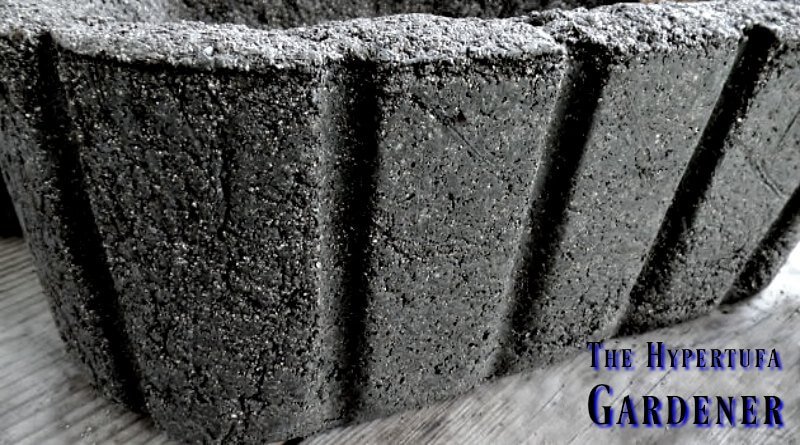
Check Out That Shape!
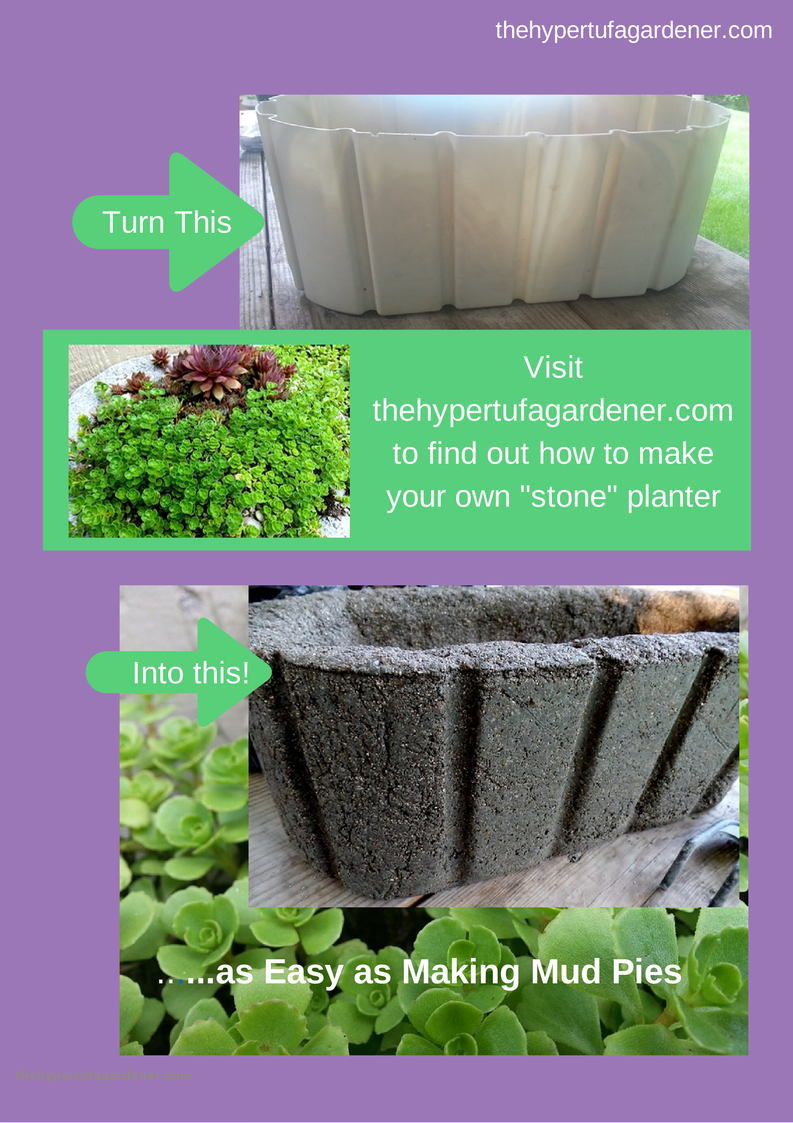
Recently, I ran across this plastic planter at a garage sale. This was an especially nice shape to use as a hypertufa mold made of a hard resin-type material and would have made a nice planter on its own.
But it is WONDERFUL as a large hypertufa mold for a trough. And I have found that I really like them deep like this one is. So check this out and keep an eye out for hard plastic garden containers that you can make into a wonderful hypertufa planter!
I am always looking for a nice shape…planter, that is.
Sometimes I see a shape in a plastic dish or form of some kind and I love it! I just know it would make a good form.
This one is awesome, right?

This particular plastic garden container was so interesting in its shape that I just had to have a hypertufa trough like that. I love the indentations on the side and those indentations seemed big enough that they would show in the final product.
Remember, I am always impatient to get mine planted up and I used my quick leaching method. If you haven’t tried that here is the link. Try Express Leaching.
I have planted this one with some Sempervivum arachnoideum (cobweb semps) and I am anxious to plant more in the hypertufa pot if there is room remaining. These arachnoideum mat really well, so I think it is a good match.
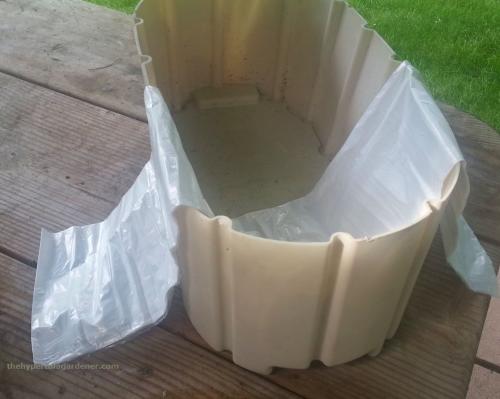
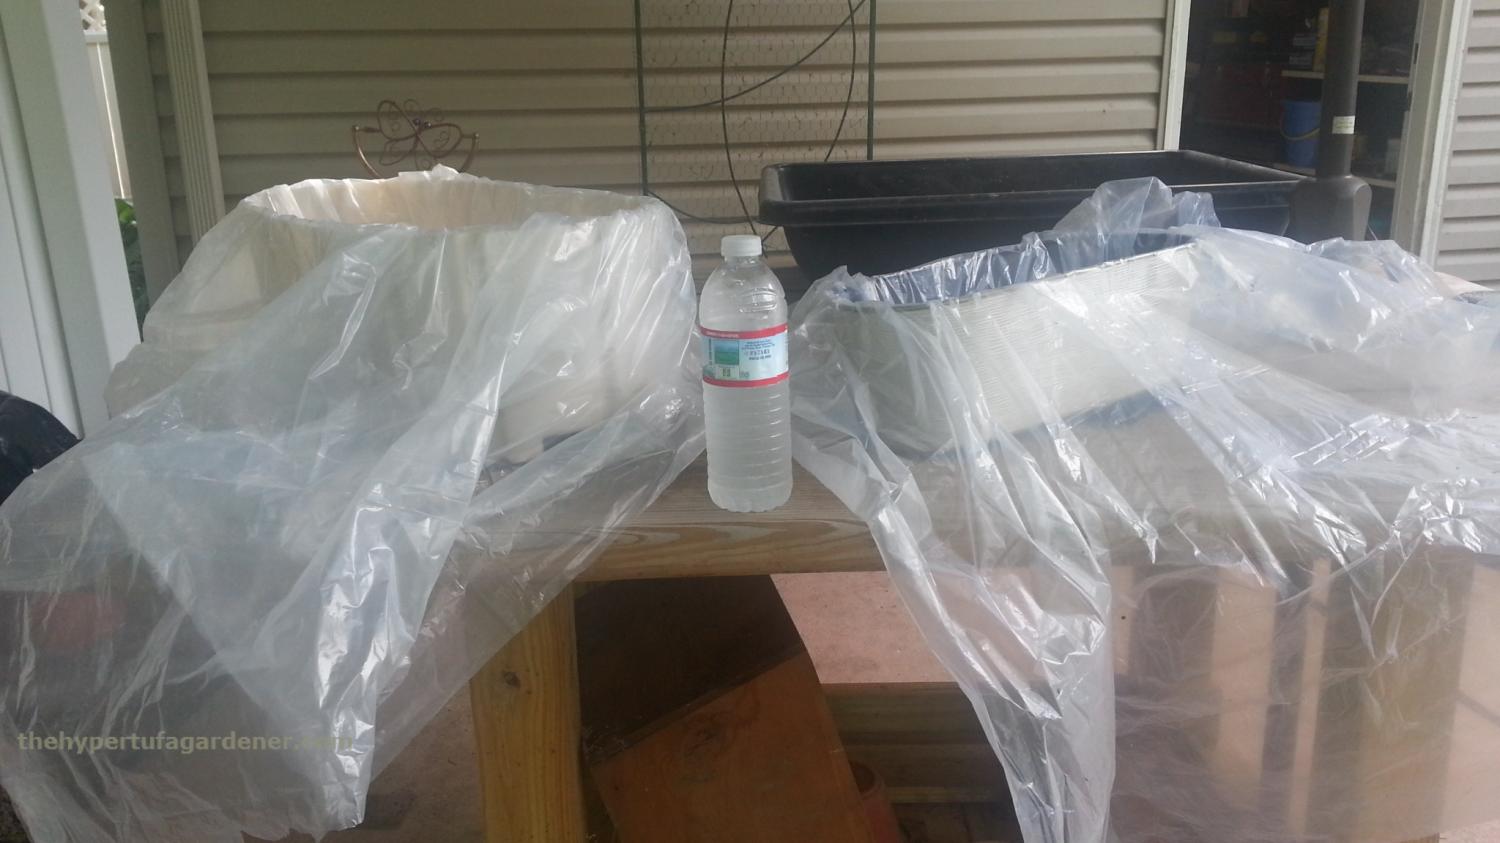
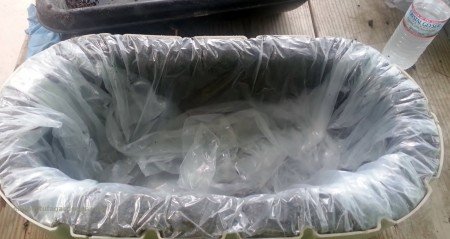
But here are some photos of my process of making a hypertufa trough inside a mold. I use the thin plastic drop cloths to line my forms. I think the thin type picks up the features that you want, especially for the basket forms. This post includes my affiliate links to purchase some of the items mentioned. These large sheets can be cut to fit any size mold. Here is the link. [easyazon_link identifier=”B00KWMKRAO” locale=”US” nw=”y” nf=”y” tag=”thehypegard0d-20″ cloak=”n” popups=”y”]Trimaco 04301 2 Mil Stay Put Vinyl Dropcloth 9’ X 12’[/easyazon_link]
After lining your form, you may want to line an extra form in case you have leftover hypertufa mixture. That way, it can be used for another planter instead of wasting it.
For this size hypertufa garden planter, I used a one gallon measure unit. So I used 1 gallon Portland, 1.5 gallon vermiculite, 1.5 gallon peat moss. That amount was just perfect and I had no leftovers.
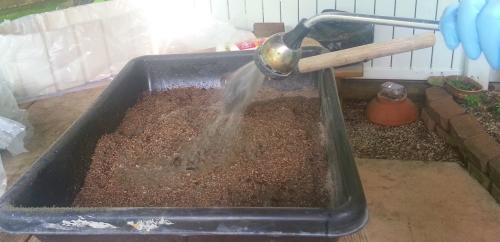
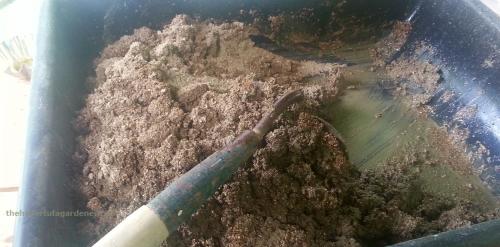
Important: Get all the dry ingredients measured and mixed together thoroughly, then add the water and mix.

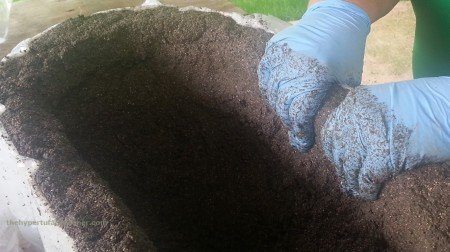
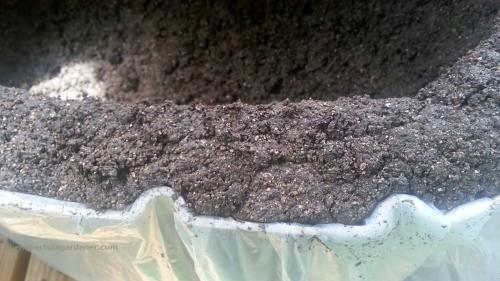
Press the mixture into all the bottom, edges and sides firmly. Tug on the plastic liner as you go to get the mix into all the edges firmly and to prevent a large fold occurring which might make your planter weak.
You will make the bottom first and then slowly build the sides by pressing large handfuls of the mixture along the plastic-covered bottom and walls. I make my walls and bottom thick!
If the mixture is too moist, you may have a problem with slumping so be sure to add water carefully when mixing.
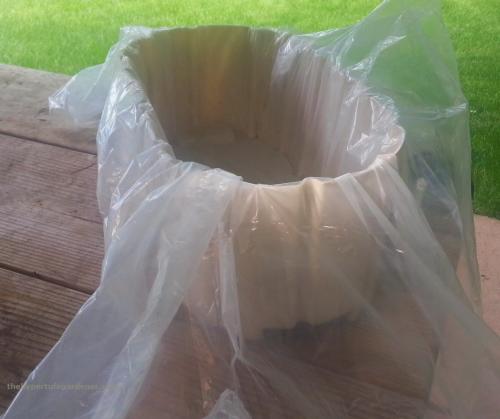
When you are satisfied with your form, pull the excess plastic wrap hanging outside your form and fold it inside the trough you have just made. You can compress more if you like, using one hand on the outside and one on the inside compressing between your hands. Firm is Good!
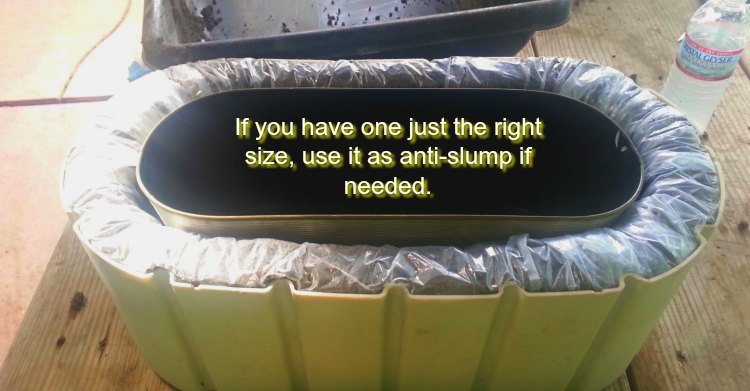
This time, I didn’t need the extra container. I had prepped another container in case of any leftover hypertufa mixture ( I had none) , but that container appeared to be just the right size to use as an insert for this form.
So I placed it inside my plastic-lined newly made hypertufa planter to use the form as a barrier. Most times this is not necessary, but if you had your mixture a little too wet, a form pressed inside may keep the mixture from “slumping.”
I wrapped this whole bundle inside a large garbage bag. Most of the time I am doing this myself. So my method is to put my container at the edge of the work table, slightly off the side, and pull the garbage bag on the edge. Then I tilt it gently so that I can slide the bag fully over my container. Then tie it closed and you are done. This little tent made by the bag is your “curing” tent. Just set it in the shade and leave it for 24-48 hours.
Removing Your Project From the Hypertufa Mold
After 48 hours, gently pull it out of the bag. It should feel as hard as a rock with just a little “scratchable” feel! Turn the whole container upside down, and then pull on the plastic liner, and it will ease itself out of the mold. Unwrap and do the happy dance!
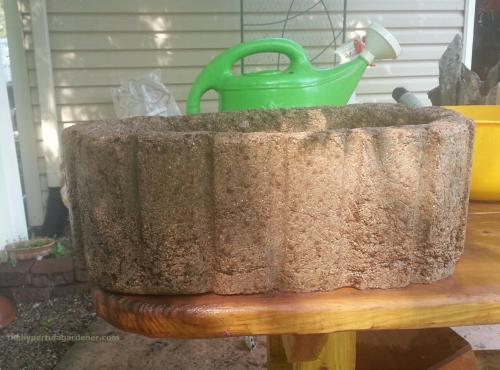
Some texturizing of your new hypertufa planter (here’s the link) may be needed, but not much. Really like this one a lot.
After you get the look you want, place the new hypertufa planter back inside the garbage bag, and again place it in the shade. Leave it there for 7-10 days for curing. After that, you may drill holes, leach, then eventually plant it up!
Enjoy your planter! It is unique and no one has one exactly like yours, right? Make some for yourself and let me know how they turn out.
Don’t you just love hypertufa? I sure do!

I love this shape Kim. Its made an amazing hypertufa trough. Pity you didnt film this one. Would like to see photos of it planted up.
Im thinking of trying your fast curing and leaching method, i usually wait 4 weeks. Such a long wait!
I am going to have to check my old videos, maybe I can find something for when I made it. I really don’t know why except I wasn’t filming that day or what? Thanks so much for visiting.