
Using Hypertufa Molds – Anything is Possible!
What about using hypertufa molds? What can I use? In my opinion, anything is possible. If it works, you are gold. If not, carry on!! If you are a regular reader of my blog, you have seen that I use some weird things as a mold sometimes.
For the most part, I am pretty conventional and use bowls and tubs, both round and rectangular. I have made tiny ones like cupcakes and large ones bigger than a bale of straw. ( I am leaning on the medium ones these days. I guess my tastes run in cycles.)
You have seen my Shamrock. And Easter Baskets. And Pumpkins.
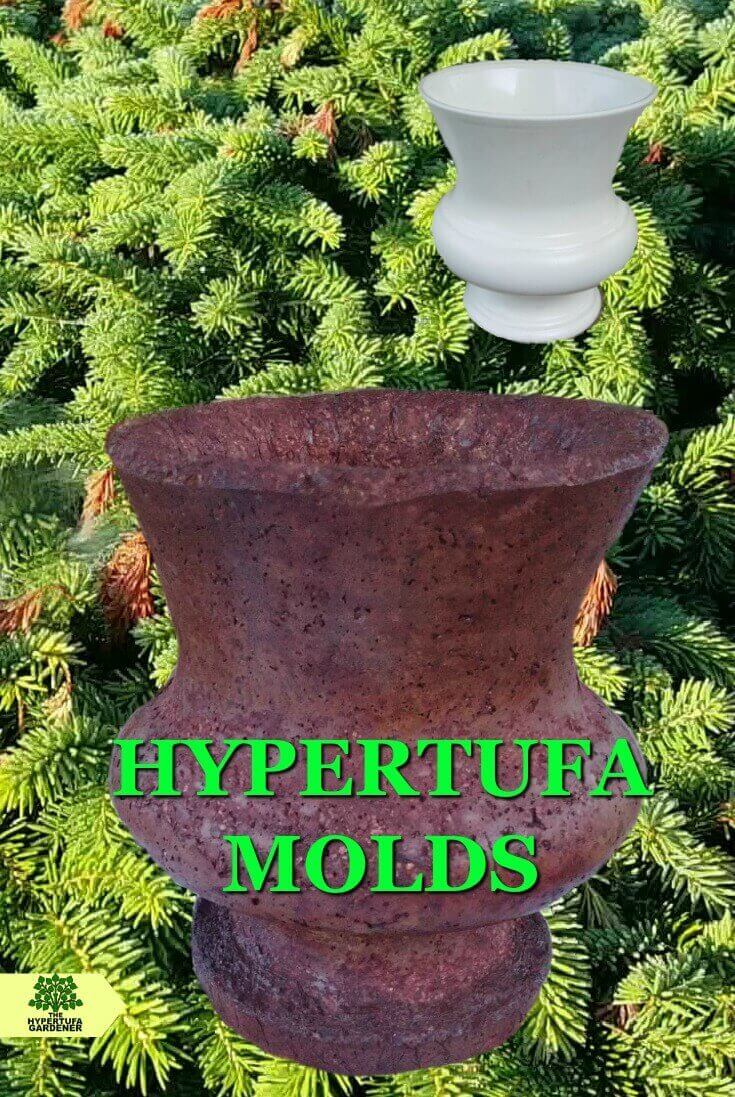
Well now I am moved to try for something which turned out to be even more of a stretch. What have I tried now? Take a look. What do you think?
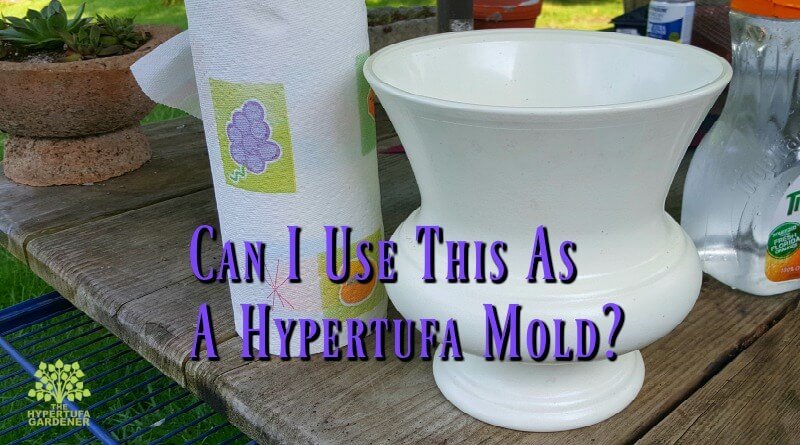
You see, I had this plastic urn that I felt had the best shape. But I really didn’t know how I could make a hypertufa planter. This one is made out of hard plastic, not pliable, so I knew we would break it to get it out. If all else fails, it could be melted off like we did the pumpkins and baskets.
(I have included some affiliate links. I am an Amazon affiliate which means if you should make a purchase, I could earn a commission. If you have questions, please see my Privacy Page & Affiliate Disclosure.)
Remember, do this project outside. Those fumes given off when the plastic heats/smokes are NOT GOOD. We’ve used Sondiko Powerful Grill & Cooking Torch which is small and easy to handle. Useful in the kitchen too.
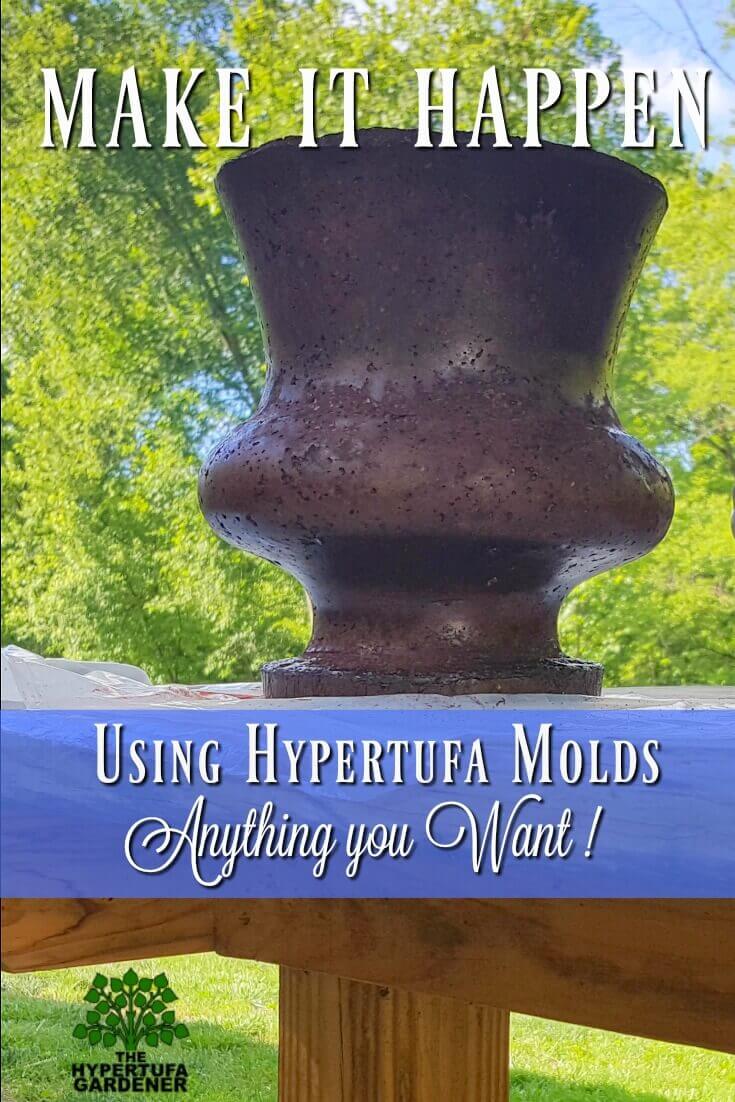
Based on the shape of this hypertufa planter, I thought it would be great for a cascading plant or vine along with a tall upright element. I am anxious to plant it and I will post some photos over on the Facebook Page. Have you joined our group yet?
As you watch the video, I hope you can tell that I have packed the base solid. I felt that part would be fragile no matter what. So I planned to have the inside just be a rounded out opening with a solid base on the inside. But I did want the outer base to be great from the outside.
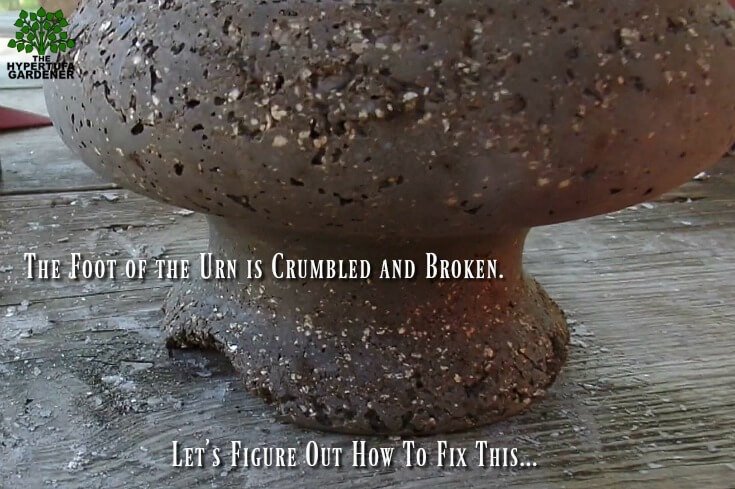
Unfortunately, as you see, it was the outer base “foot” that became fragile and broke off along the edges. (The fear of any hypertufa maker.)
How to Rescue Your Project When it Fails
If you have made many hypertufa projects, I am sure that you have had a few “fails” just like I have. But don’t despair. If you put your mind to it, you can rescue it. Either by fixing the same idea you were working on to start, or adjusting it and making something different.

As you see in the video, my base was too fragile and it crumbled in places and edges broke off. I had tried to press the mixture into that base and hard as I could, but it just didn’t work. Without the base fully extended as it was designed, I didn’t think the vase would be quite as stable as the original foot intended. And I wanted that FOOT!
My daughter was helping me that day, so we both went hunting in the stacks of possible hypertufa molds I have. We found a few items that closely matched the size of the circle for that base foot.
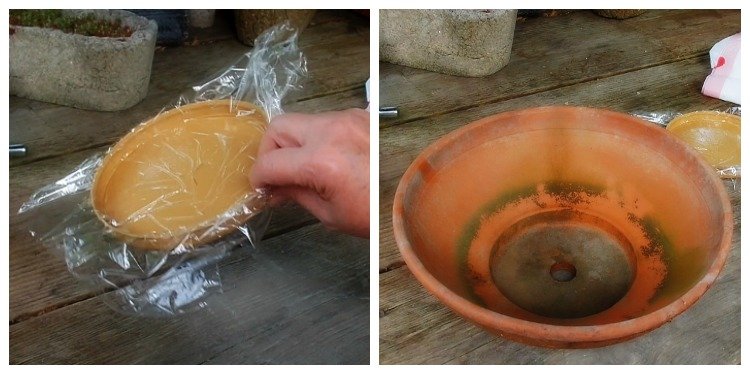
The clay planter seemed to have a depth that would work out best for strength. So I decided to use it. I lined the inside of that depression in the clay planter with plastic so that I could be sure to remove it easily. I mixed up some hypertufa, heavy on the cement. I think I used about a cup of cement and 1/3 cup each of vermiculite and fine peat moss.
I made sure to spray the based with water to hydrate it in the hopes that it would bond with the new hypertufa mix easily. It was only 48hrs out of the original mold so was still “green” enough, I felt. I set it carefully into the center of the clay dish after packing the depression with wet hypertufa mixture. I pressed down so that the mix would ooze up onto the based. It was hard reaching into the area, but I felt the struggle was worth it. I pressed and pressed so that I could get a solid base built around the crumbled area.
Then wrap it and wait!
It worked! I lifted the urn out of the clay dish after waiting 3 days. And I found that I had a good solid base. As you can see in the video, it was nice and sturdy, and of course, a mess. But that is where my handy rasp comes into play. When the hypertufa is still soft-ish, I can carve it a little. So we worked on that until we had it shaped like it was supposed to be.
The hole in the bottom of the clay dish made a protrusion in the bottom of the urn. But that was easily trimmed off. Not sure a “machete aka meat slicer” had to be used, but that is what my husband picked up from his garage. My nerves!
After drying for several days, I wiped the urn down and decided a Minwax Wood Stain would work for me for this project. I like a wood stain as opposed to a cement stain. This red oak was one I already had and I think it gave the urn an aged bronze look? What do you think?
So final words for this post on using hypertufa molds. Use anything that appeals to you and then if there is a problem, figure out how you can fix it. I could have just put this in the hypertufa graveyard, but working with other hypertufa molds I had available, it was rescued. And I love how it turned out.
Yay, me! ( and my daughter and hubbie too!)
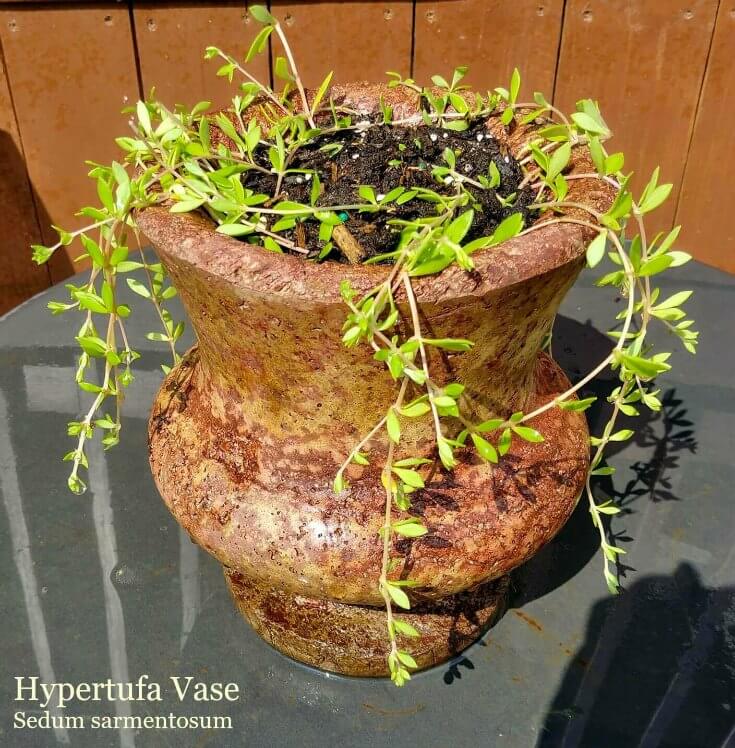
Update: I planted the vase or urn with Sedum sarmentosum. It looks great, don’t you think?
I believ3 if you had added some strengthening fibers, found by the cement mix at your home improvement store, it may have helped your base (foot) not crumble. Just an idea! Thank you for the video. You are very detailed and that really helps when teaching!
I think that would have helped, especially if I concentrated putting it into the base itself. But glad I got it fixed and that urn/vase is still going strong!