
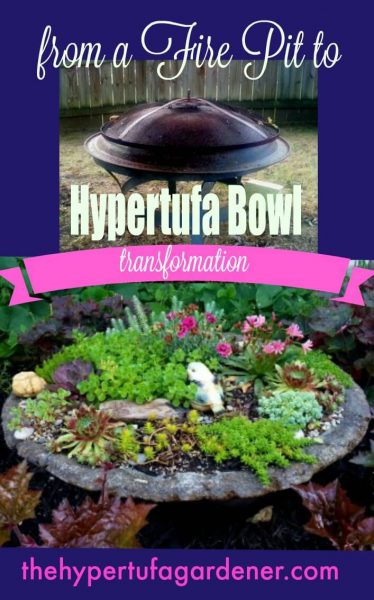
Make A Hypertufa Bowl From A Fire Pit
When I saw an old rusty fire pit at a garage sale
for $1, I HAD to have it. I had been keeping an eye out for a shallow bowl shape so that I could make a large hypertufa dish garden. This was perfect! I thought I could use the stand it was in, or use one of my circular pedestal stands to place it on the ground. This is exactly what I did.
It turned out to be a perfect mold for a perfect shallow and wide hypertufa garden planter, right? This is what I started with, in all its glory.
I was planning to use only the bowl portion and not the stand, even though both were in good shape….other than very rusted. In fact, in October, we carried it around front and had our fire while the Trick-or-Treaters came by to get warm.
It seemed to me that this would make a shallow hypertufa bowl which I would put on one of my “donut” pedestals. I planned this for the front bed which was transitioning to a mostly sun bed. We had to take down a large Crimson King Maple out front which was dying. Long gone now. I have adjusted to it, but it is hard to lose a tree.
But, I digress. As usual.
I mixed my hypertufa recipe and applied it inside the fire pit bowl itself. I made it very thick and packed it up over the curve of the “lip” of the bowl. I wanted to be able to set the hypertufa planter in that stand if I chose to do so. It was very heavy and awkward, but I finally got it wrapped and set the bundle under my lilac bush in the edge of the yard. ( I made this fall 2013.)
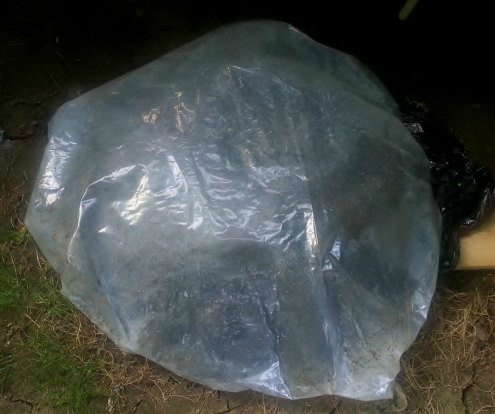
I left it to cure for about three days, and then pulled it out of the plastic wrapping. It seemed to have a good texture already, so I left it as it was, since I didn’t feel that it needed any more texture. Of course, I cleaned up a few sharp edges along the sides. The curled edge was very strong and I saw no problem with it being able to balance on the stand if I chose to do that.
I re-wrapped it in its plastic and let it set for an additional week or so. It usually sits until I get the time to finish it up. But I just followed my regular procedure as outlined here.
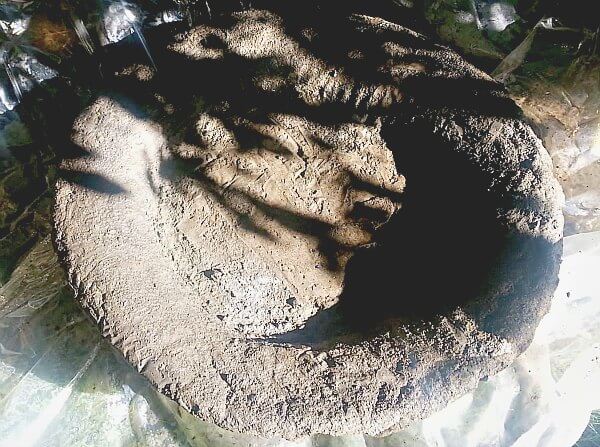
I am sorry this picture is so bad, but it is the only one I can find. ( Don’t you take way too many pictures? And trying to organize it? I have had to use an external drive just to hold my pictures!)
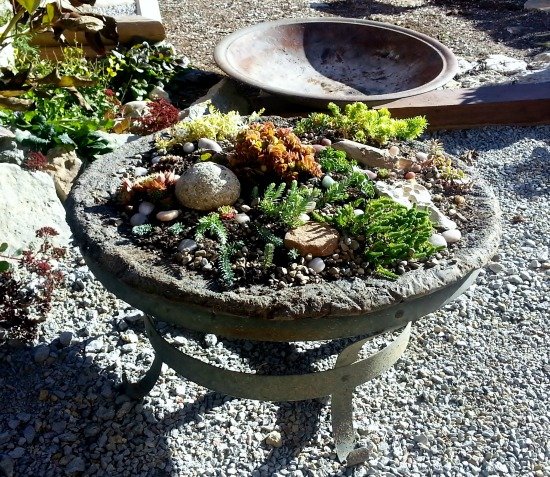
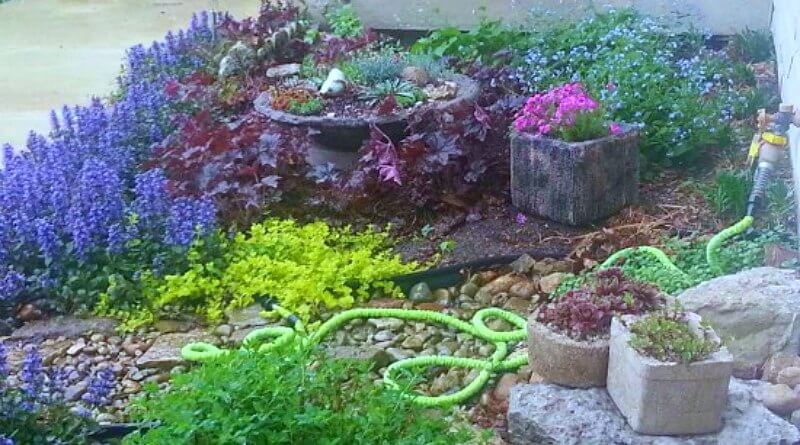
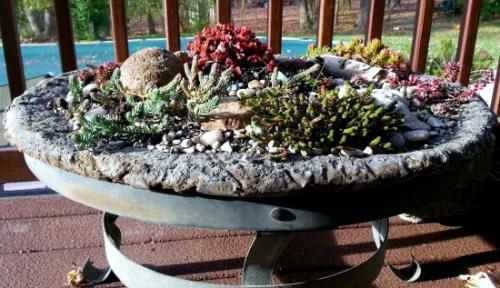
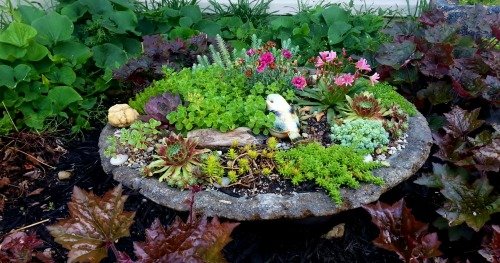
This is the finished product all planted up. I think it turned out really nice!
I planted this one with hardy sedum and succulents.
The little ball in the left of center is some leftover hypertufa mix, which makes a nice little textured ball to decorate the final planting. That saucer in the background is the original fire pit metal bowl that I used as the mold for the saucer. The hypertufa bowl in the shape of the saucer did turn out to be strong enough to hold itself on the rim of the stand. I left it on the stand, but took it up on the deck for the winter season that year.
This hypertufa bowl planter turned out to be very heavy. Even though hypertufa is lighter than concrete, it still can be very heavy based on the size of the planted piece. I could not move this one myself ever. This is where a son and son-in-law come in handy. It was the largest one I had made up to that point, until I made my T Rex Trough which you can read about here.
These large landscape garden planters made with hypertufa have really been great specimen planters for my garden. These are the most noticed in my landscape.
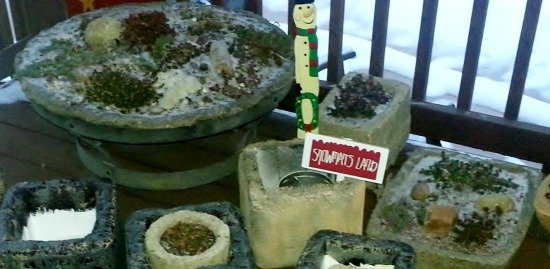
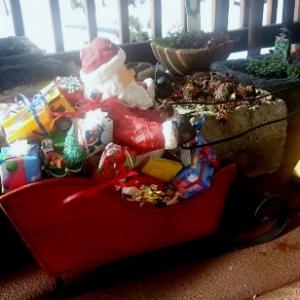
On my deck outside, she got a lot of snow, and at that edge, a lot of windy sleet and ice. But she did just fine. I put some Christmas decorations out there, because it looks cute outside the patio doors. Santa even drove by!
When spring finally arrived, I moved the hypertufa bowl firepit out to my front bed, and that is where I have it to this day. I added some dianthus and also a lewisia. These plants have done very well . It was my first time with a lewisia, and I thought it looked like a sempervivum on a diet. This lewisia looks like a large slender “hen”, right?
I am really pleased with my large garden planter saucer/bowl. At this point, I have permanently placed it in the front garden bed. Since this one is so heavy and very hard to move, this will be its permanent position.
I have it on a hypertufa “donut” pedestal which makes it elevated but not too high. Right now it is surrounded by Brunnera and Heuchera “Palace Purple” and I am sure I will be picking little heuchera and brunnera babies out of it!
I have it positioned on the side of the path to the faucet hookup and I am very satisfied. What more could I want? Next time you see some giveaway at a garage sale, think of what you could make from it. I love my hypertufa bowl firepit planter!
Have you tried any large hypertufa projects yet?
Love your fire pit bowl. I made one similar to yours but used a wheelbarrow bed for the bowl and free formed the sides. It came out very nice and planted several different sedums. It is in a bed with zebra grass. I did place it directly in the ground and now looks like a normal rock formation. Sorry no pic but will send one soon.
That sounds like a wonderful planter. Genius idea to put it in the ground. I would love to see some pictures.