
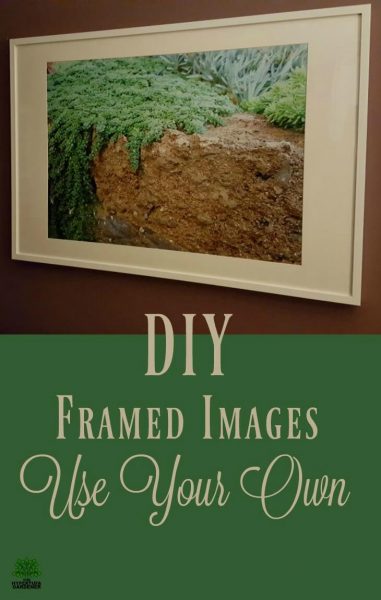
DIY – Decorate Your Walls With Your Own Images
I do and I have so many of them!
And I have had a great DIY photo display idea that I have to share. I have made a few wall photos and have those hung in my living room and dining room so far. It is easy to do and more economical than you might think. Truthfully, I do love those framed images that you find in showrooms and studios but they can be so expensive. What I love is framing my own! I can see the “fruits of my labor,” so to speak. You have learned that I am all about saving money and budgeting?
All you need to have is a collection of good photographs. I have a small camera with no extra gizmos that I don’t understand and a good cell phone camera. You can see these listed near the bottom on this page.
I live near an IKEA and a Michael’s Craft Store. So I can get the best of both worlds. I think the IKEA frames are economical. When there is a sale at Michael’s, I can pick up two large frames for the price of one. IKEA also has a great inventory to pick up frames too. I have used some frames in the past which I consider a little heavy, so be sure to pick one that you feel you can handle over the seasons. I like to put out spring and summer flower frames, but then I also have winter and Christmas images framed also. That way I can change them out as the season changes.
Hint: Just get extra frames and do a new one for each image. I tried changing out the photo and inserting it into the same frame. Nope! Next sale I had frames for each picture and un-used ones stacked in the upstairs closet. Changing out the seasons is a breeze!
Perhaps you may be content with keeping the same ones up most of the time. As for myself, I am always looking for something to change. Maybe that’s why I am always digging and moving something in the garden too!
Steps to a DIY Photo Display Idea
Since I take a lot of photos of my plants and flowers ( and an occasional insect or spider), I keep my phone set on the highest resolution in its settings. I have another camera but all the settings confuse me and on the phone, I just check HDR and either put in on 16M for 5312 x 2988 pixels or 12M for 3984 x 2988 pixels. I can get a really detailed photo image with those settings. These files will be large. In fact, after choosing some of my favorite images for enlargement, I found that unless the photo was in the 3-4 Mb size or larger, it wouldn’t work.
Walmart, Meijer, Target, Sam’s Club etc offer an online photo ordering option and most of these warn when you upload and choose your image size whether or not it will work. It flashes “Poor Quality” and you know that it will be a waste of money to use that one. Some of my most favorite images which I have used here on the website were not suitable for enlargement for this DIY Photo display idea. I wanted huge 30 inch by 20 inch poster images for frames which were over 4 feet wide. And photos that are good for display on the website are not good for enlargements. I don’t understand all the tech talk but it can look good on the web but is not the correct dpi for an enlargement.
I went through thousands of photos and finally found a couple that I loved and that fit the criteria for enlargement. These photos are on my computer already, so I just signed into the various photo centers around me and chose Walmart. The enlargements cost approx $20 each and I got one same day because I ordered it early. The other I ordered after 6 pm one evening, but it was ready next afternoon. ( I was cautious. I wanted to SEE the enlargement before I committed to two of them.)
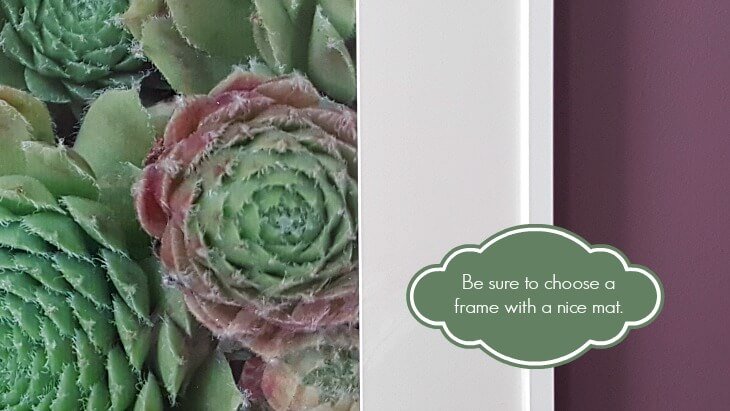
Be sure to order “borderless” if you get that option. My mat opening was 19.25″ and I was sweating the 20″ height. It worked. If it had been printed with a border……..back to square one!
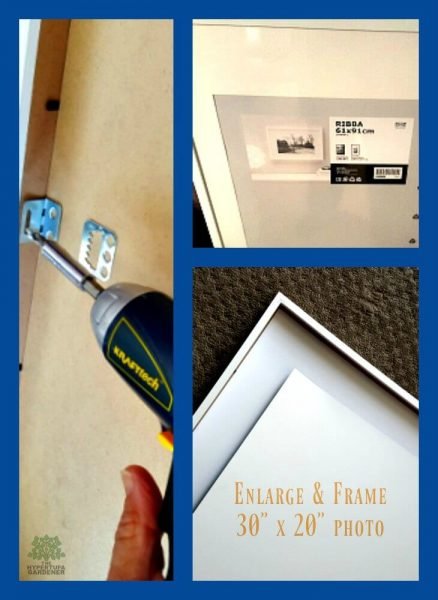
Just follow the instructions on removing the backing on the frame and carefully place the photo over the opening in the mat. Be sure your glass is clean on the inside and wiped free of any dust particles etc. Just a small drill for the tiny screws in this one were all we needed. Here comes an affiliate link to Amazon! I secured the photo with [easyazon_link identifier=”B017IMBAQ0″ locale=”US” nw=”y” nf=”y” tag=”thehypegard0d-20″ cart=”y” cloak=”n” localize=”y” popups=”y”]acid-free Duck tape[/easyazon_link] and we put it back together. It looks wonderful!
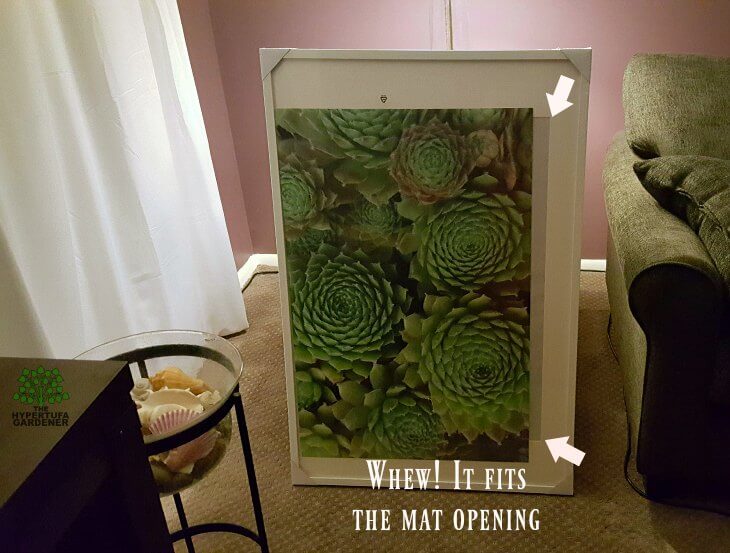
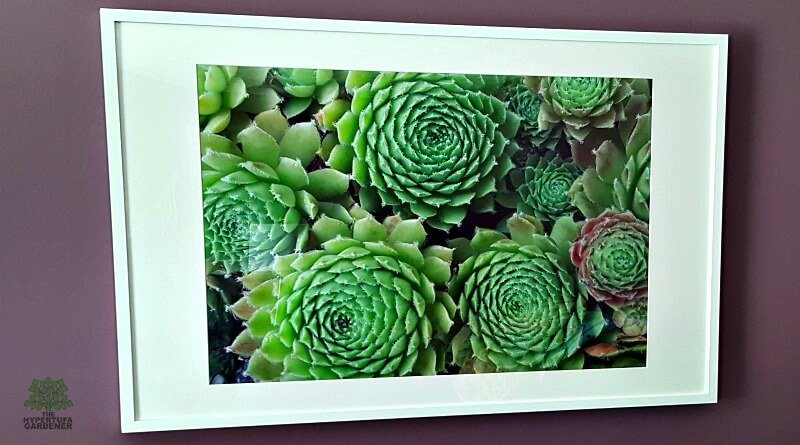
I chose these two photos because I am totally in love with succulent plants and sempervivum are so special to me as you can see by my website, I take a lot of photos of them. The other photo is a closeup of the Giant T Rex trough which luckily was the correct resolution. I did put the photos into PicMonkey to slightly adjust the ratio so that I had a 16:9 aspect but I only had a small amount of “wiggle room.”
Parents: I know you take photos of your kids, so be sure to set your phone camera on a very high resolution. ( If you have one of those professional cameras, you probably do this anyway.) but you never know when the perfect shot could happen and grab your camera and snap! It turns out just perfect and you would want that photo enlarged to poster size! I have some really cute ones but they are all just 5 x 7 or 8 x 10. I would love to have a huge one over the mantle!
So set that phone camera to high resolution. You know you ALWAYS have it with you, right? Make you own art!
What a wonderful idea! I have so many pictures I could do this with! Thank you so much
Thanks, and I am sure that you probably have so many more photos that could be enlarged. Love mine!